
Lanyard pouch sizes: insert size vs external size
Almost every sizing mistake in this category comes from one ambiguity: two different measurements share the same name. Here is how to get it right the first time.
The short answer
Work from the insert size — the card, badge or printed pass that goes inside. That is the measurement that has to be right, and it is the one you can actually verify with a ruler.
The pouch itself is always slightly larger, so the card slides in and out without catching or bending at the corners. Industry guidance puts that difference at roughly four to five millimetres per edge, though it varies with material and finish.
So: tell your supplier the insert size and say explicitly that it is the insert. If they quote you a single set of dimensions without saying which measurement it is, ask.
Insert size vs external size
These are the two measurements, and suppliers across this market use both without labelling either:
- Insert size — the printable area. The card or pass that goes in. What your designer needs.
- External size — the pouch’s own outside dimensions, including the sealed edge and the strip above the lanyard slot. Always larger.
The gap between them is not trivial. A pouch listed at “95 × 125 mm” could take an insert closer to 85 × 115 mm — which is the difference between artwork that fits and artwork that gets clipped.
It gets worse with the width-by-height order, which is not consistent either. “85 × 110” and “110 × 85” are the same pouch in different orientations, or two different pouches, depending who wrote the listing.
When you enquire with us, insert size is what we quote against, and external dimensions are confirmed on the quotation. If you only know the external size, say so and we will work backwards.
The sizes we supply
Every dimension below is an insert size. Find the one closest to the card you have and you are most of the way there. If nothing matches, a custom insert size is available on request — that is normal work rather than an exception.
A quick way to narrow it down: card-only badges sit at the small end (58 × 90), a name and a role want the middle (85 × 110 or 95 × 125), and anything carrying a schedule or needing to be read across a room wants the large end (A6, or the wide 140 × 102).
| Format | Insert size | Suits |
|---|---|---|
| 58 × 90 | 58 × 90 mmtakes ID-1 / CR80 card | Standard 86 × 54 mm printed staff cards; Access-control and proximity cards |
| 78 × 130 | 78 × 130 mm | Delegate badges with a barcode or QR code; Staff passes with role and department |
| 85 × 110 (ID) | 85 × 110 mmtakes A7 insert | Conference and delegate badges; Staff and contractor ID |
| 95 × 125 | 95 × 125 mm | Multi-day conference badges; Delegate passes with a programme printed on the reverse |
| 105 × 105 (badge) | 105 × 105 mm | Crew and staff badges that must be distinguishable; Event access tiers |
| 140 × 102 | 140 × 102 mm | Crew, marshal and production passes; High-visibility access control |
| A6 (105 × 150) | 105 × 150 mmtakes A6 sheet | Crew and backstage passes; Multi-day event accreditation |
| Press stud | 85 × 110 mmtakes A7 insert | Mining, industrial and construction site ID; Access cards that must not be lost |
All dimensions are insert sizes in millimetres, written width × height. External pouch dimensions are slightly larger and are confirmed on your quotation. You will also see these sizes written without the spaces — 58x90, 85x110, 105x105 — which means exactly the same thing.
Standard card and paper sizes
Most people arrive holding a card or a printed sheet rather than a dimension. Three standard sizes cover almost every case, and each one has a format in the range built around it.
- ID-1 / CR80 — 86 × 54 mm. The bank-card size, and what almost every printed staff card, access card and driving licence already is. It goes in portrait to the 58 × 90 pouch with roughly 4 mm to spare each way.
- A7 — 74 × 105 mm. Fits the 85 × 110 ID pouch with room around it. The pouch is built around 85 × 110 rather than A7, so an A7 insert sits inside a slightly larger window — usually what you want on a badge anyway.
- A6 — 105 × 148 mm. A trimmed A6 sheet drops straight into the A6 pouch, whose insert is 105 × 150 mm. No custom trimming, and inserts can be printed on ordinary A6 stock.
One trap worth naming. The wide 140 × 102 format is not an A6 pouch, even though it looks like one on a spec sheet. A6 is 148 mm across and will not go into a 140 mm opening. If you are printing on A6 stock, order the A6 pouch.
These are statements about what physically fits, not claims that a pouch is certified to any standard. If a card is unusual, send us its dimensions and we will confirm the format against it.
Portrait vs landscape
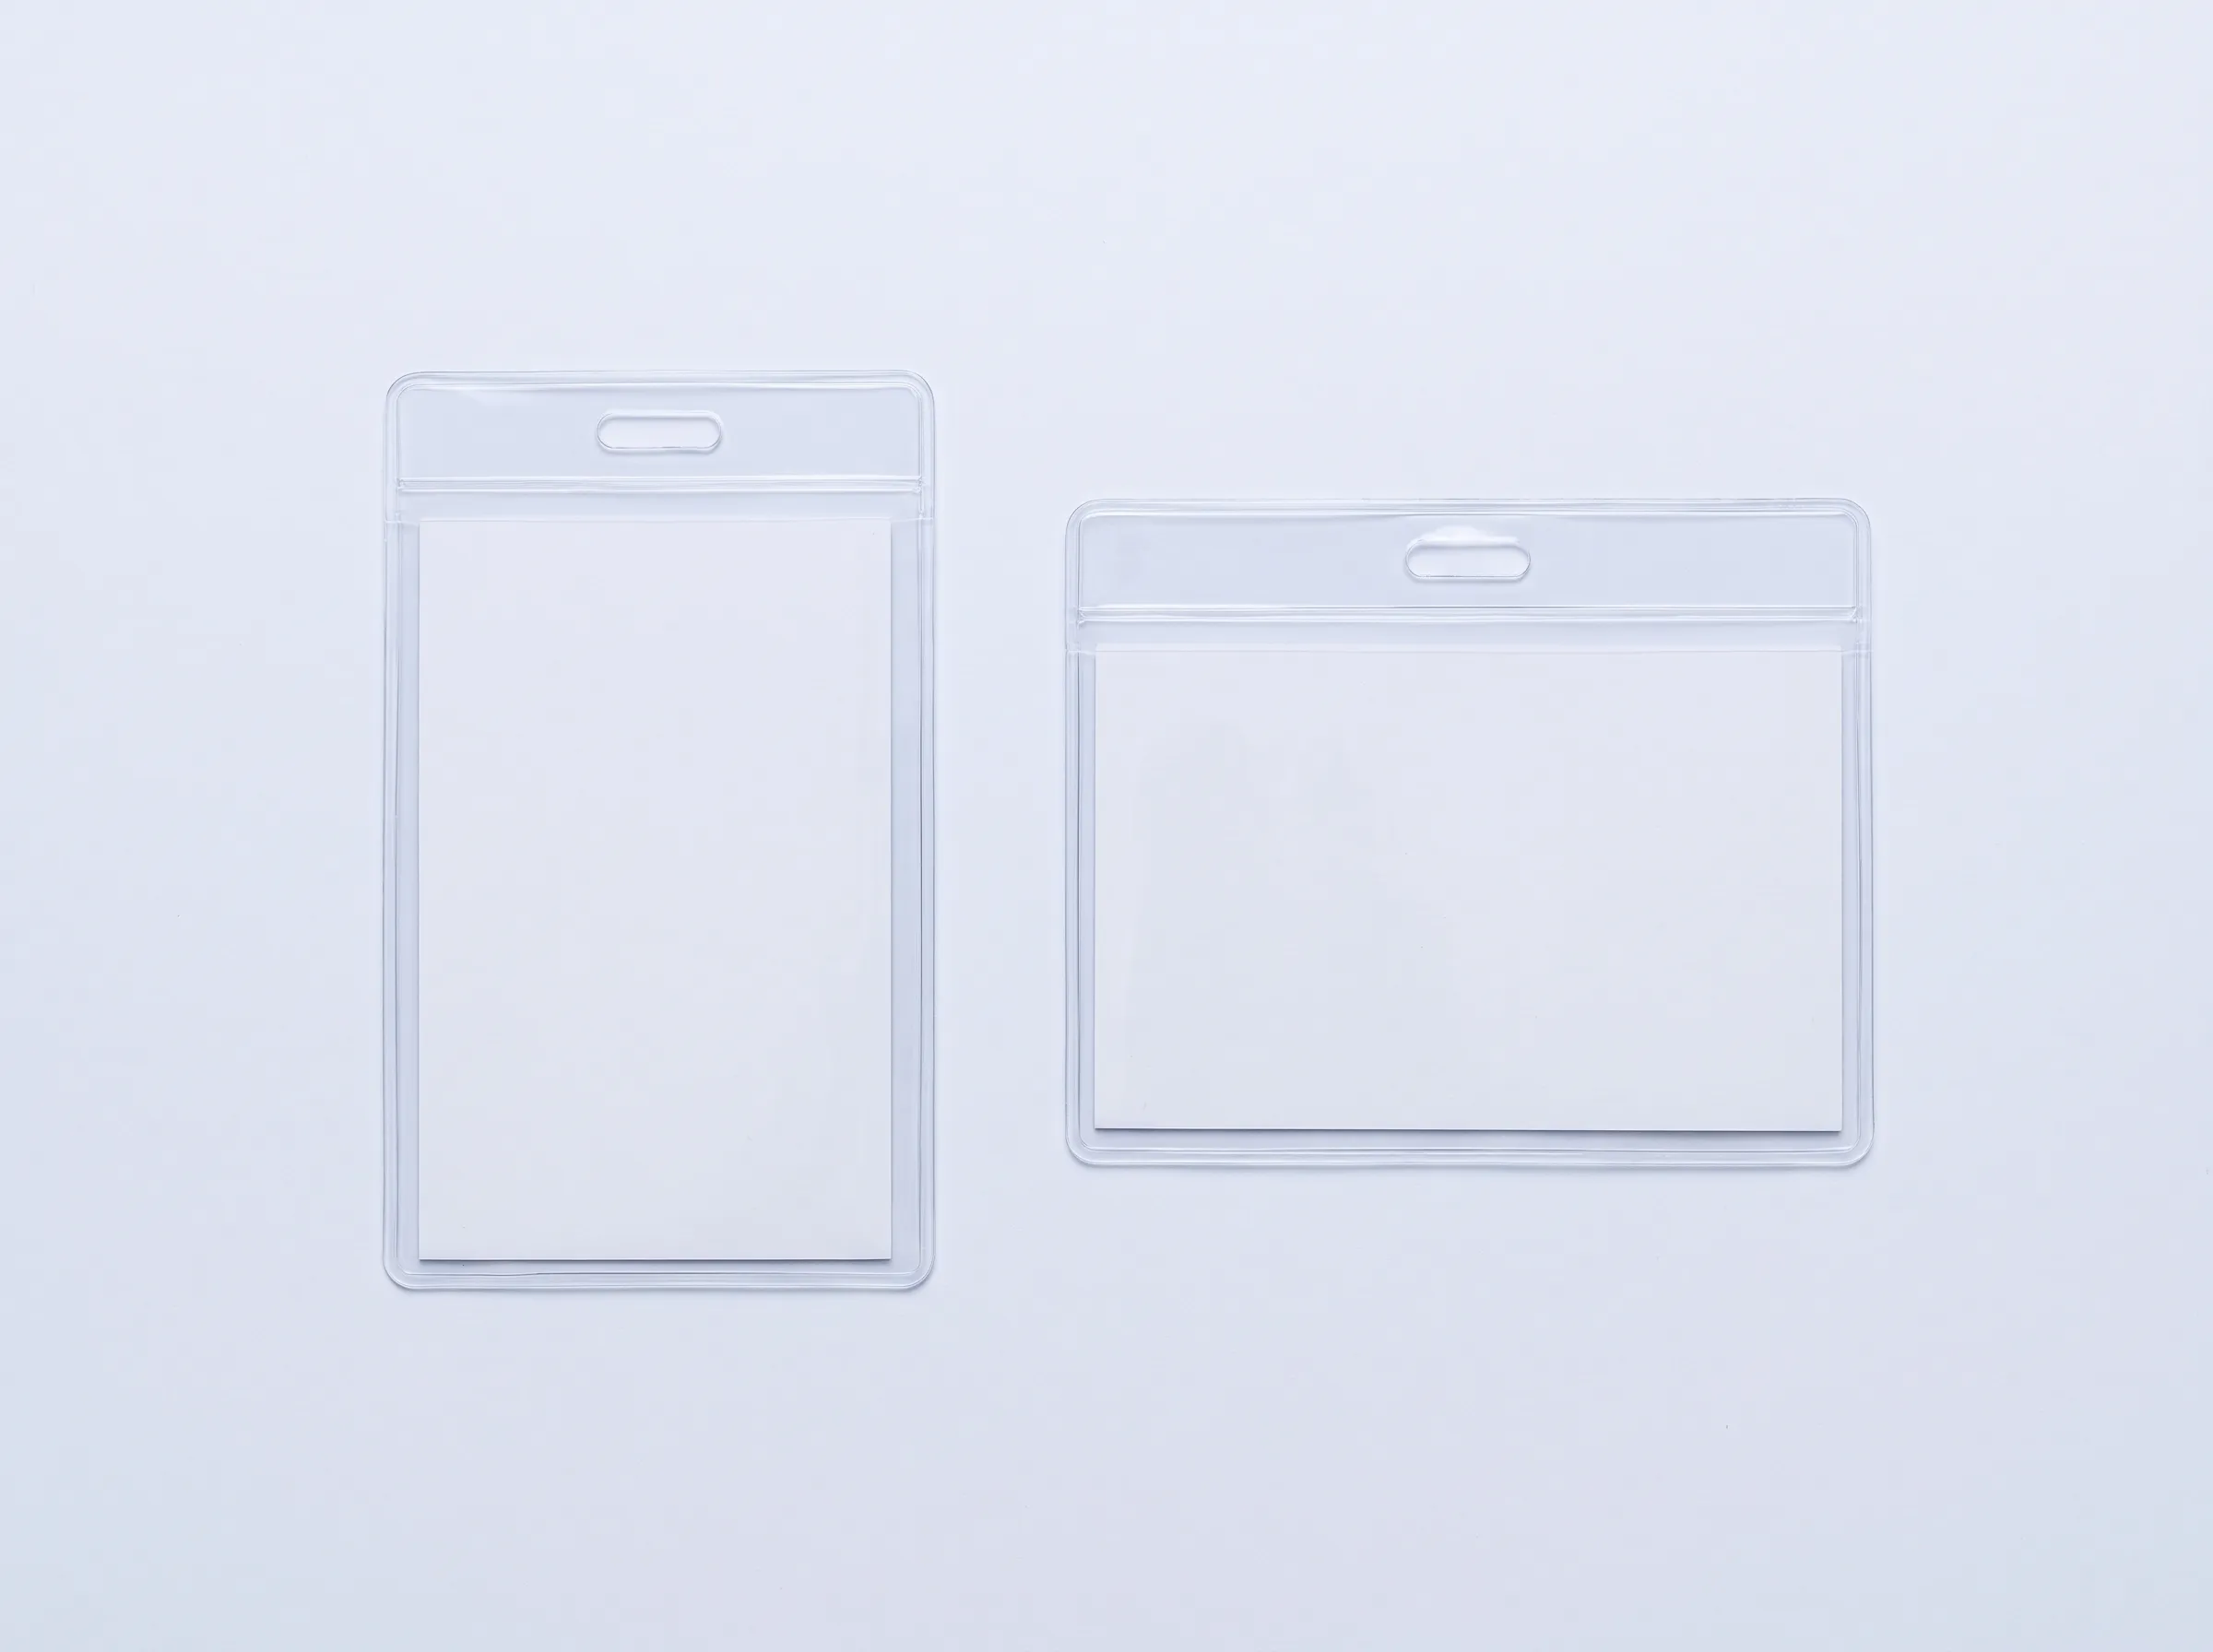
This is the part most people underestimate. Portrait and landscape are different products, not rotations, because the lanyard slot is punched relative to the pouch, not to your artwork.
Take the same insert and turn it ninety degrees, and the slot ends up on what is now a side edge. The badge hangs sideways. Everyone reads it with their head tilted for two days.
So the sequence is:
- Decide how the badge should read when it is hanging.
- Order the pouch in that orientation, so the slot is on the top edge.
- Lay out the artwork to match.
A6 is worth a specific mention: an A6 sheet is 105 × 148 mm, and the pouch takes it on a 105 × 150 mm insert. At that size getting the orientation wrong is very visible.
Matching the lanyard to the pouch
A large pass on a narrow cord looks under-specified and swings more. Rough guidance, worth treating as a starting point rather than a rule:
- 58 × 90 — 10 to 15 mm
- 78 × 130 — 15 to 20 mm
- 85 × 110 (ID) — 15 to 20 mm
- 95 × 125 — 15 to 20 mm
- 105 × 105 (badge) — 20 to 25 mm
- 140 × 102 — 20 to 25 mm
- A6 (105 × 150) — 20 to 25 mm
- Press stud — 15 to 20 mm
Weight matters as much as width. A pouch holding a thick access card with a printed insert behind it needs more support than an empty one.
Our standard branded lanyard is 20 mm, which suits most of the range. Order the lanyards on the same quote as the pouches and the pairing is matched for you.
Measuring a card you already have
If your card does not match one of the sizes above, measure it properly:
- Measure the card itself, not the pouch it currently sits in.
- Measure in millimetres, edge to edge, to the nearest millimetre.
- Write it as width × height in the orientation the badge will be read in.
- Note the thickness too if the card is rigid or laminated — a pouch sized for paper may be tight on a 0.76 mm PVC card.
Easiest option: post or courier us one of the cards. Matching against the actual card removes the ambiguity entirely.
Common mistakes
- Quoting the external size as the insert. The commonest one, and it produces artwork that gets clipped on all four sides.
- Assuming rotation equals orientation. It does not — the slot does not move with your artwork.
- Forgetting the slot strip. The area above the slot is not printable insert area. Artwork that runs into it disappears behind the seal.
- Mixing centimetres and millimetres. “9.5 × 13 cm” and “95 × 130 mm” are the same thing; one of them will get typed wrong.
- Ordering to last year’s pouch. If nobody recorded the specification, measure the card rather than trusting the memory of a size.
Still not certain?
Send us the dimensions you have, or the card itself, and we will confirm the right format before you commit to anything. Getting this checked costs nothing and is considerably cheaper than a reprint.